

Quick Overview
Whipped Greek yogurt is a creamy delight that brings a new dimension to your breakfast or snack routine. This simple recipe transforms plain Greek yogurt into a light and airy treat that can be enjoyed in numerous ways. With just a few ingredients and straightforward steps, you can create this versatile dish that pairs well with fruits, granola, or even on its own. Let’s dive into the details of making the best whipped Greek yogurt!
Ingredient Breakdown
Greek Yogurt
Using high-quality plain Greek yogurt is essential for this recipe. Aim for around 2 cups for the perfect texture and flavor. The thickness of Greek yogurt provides that rich creaminess we want in our whipped version.
Honey
Honey is optional but highly recommended to add sweetness. Use about 2 tablespoons of honey to balance the tanginess of the yogurt beautifully. You can adjust this amount based on your taste preference.
Vanilla Extract
One teaspoon of pure vanilla extract brings warmth and depth of flavor to your whipped Greek yogurt. It enhances the overall taste without overpowering the natural flavors.
Salt
Just a pinch of salt elevates all the flavors in your whipped Greek yogurt. A little goes a long way, so aim for about 1/8 teaspoon to round out the sweetness and tanginess.
Step By Step Recipe: Whipped Greek Yogurt
Gather Your Ingredients
Start by gathering all your ingredients: 2 cups of high-quality plain Greek yogurt, 2 tablespoons of honey, 1 teaspoon of vanilla extract, and a pinch of salt. Having everything ready makes the process smoother and more enjoyable.
Combine Ingredients in Mixing Bowl
In a large mixing bowl, add the measured Greek yogurt along with honey, vanilla extract, and salt. Ensure you use a bowl spacious enough to allow room for mixing without spilling any ingredients over the sides.
Mix Until Smooth
Using a hand mixer or stand mixer set on medium speed, whip together the ingredients until they reach a smooth consistency. This should take about 1-2 minutes; you’ll notice it becoming lighter and fluffier as you mix.
Increase Speed for Airiness
Once smooth, increase your mixer speed to high and continue whipping for another 2-3 minutes. This step is crucial as it incorporates air into the mixture, resulting in that delightful fluffiness we’re after.
Taste and Adjust Sweetness
After whipping until fluffy, taste your mixture. If you prefer it sweeter, slowly add more honey while mixing until it reaches your desired level of sweetness. Remember that flavors will intensify slightly as it chills.
Chill Before Serving
Transfer your whipped Greek yogurt into an airtight container or serve it immediately in bowls. If storing for later use, refrigerate for at least an hour before serving to let those flavors meld together beautifully.

Serving and Storing Tips
Serve with Fresh Fruits
For an added nutritional boost and vibrant flavor contrast, serve your whipped Greek yogurt topped with fresh fruits like berries or sliced bananas. They complement each other perfectly!
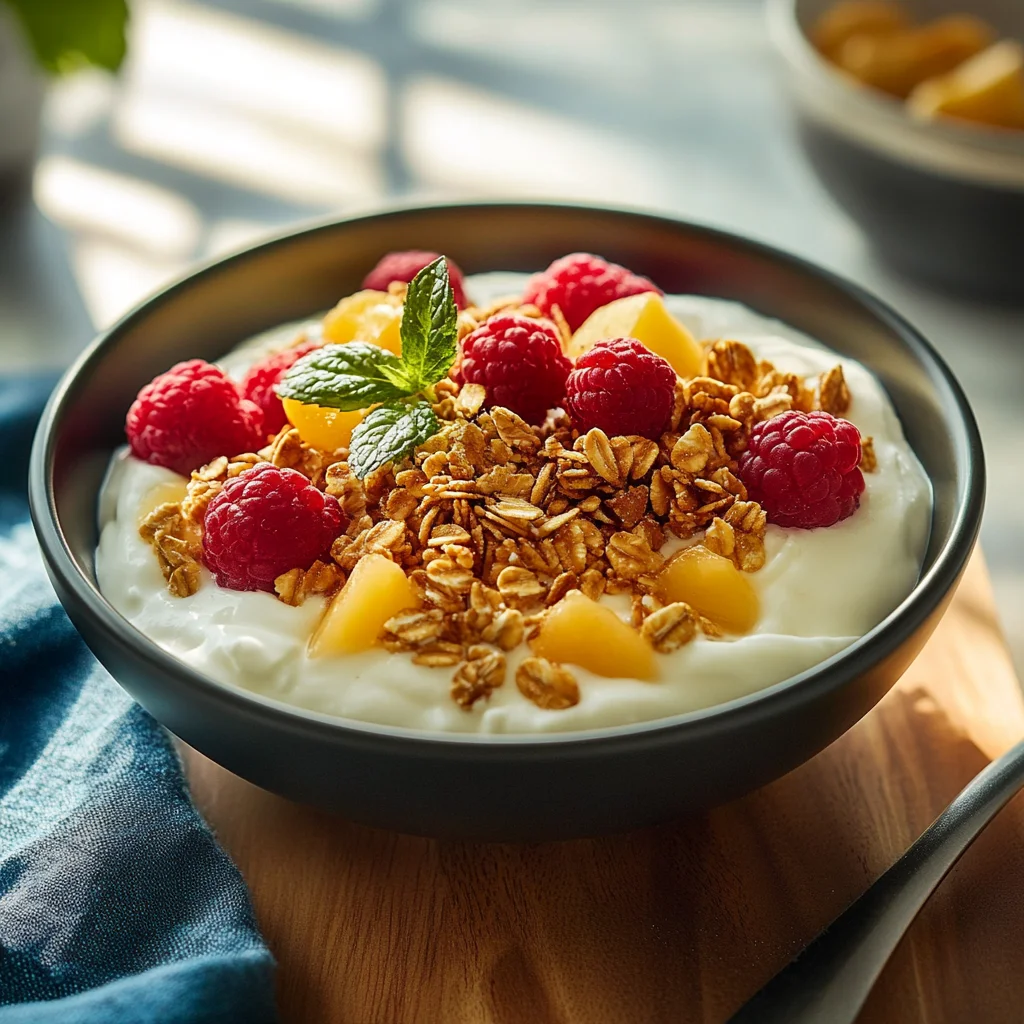
Pair with Granola or Nuts
Sprinkle some granola or chopped nuts on top for extra crunch and texture. This combination not only enhances flavor but also adds healthy fats and fiber to your snack or breakfast.
Store Properly in Refrigerator
If you have leftovers after serving, store them in an airtight container in the refrigerator. Your whipped Greek yogurt will stay fresh for up to three days; however, it’s best consumed within two days for optimal texture.
Avoid Freezing
Do not freeze whipped Greek yogurt as freezing can alter its texture considerably upon thawing. It’s best enjoyed fresh after chilling rather than being frozen down.
With these simple steps and tips, making delicious whipped Greek yogurt at home becomes quick and easy! Enjoy this versatile dish at any time of day!
Mistakes to avoid
When making whipped Greek yogurt, one common mistake is not using the right type of yogurt. Opt for full-fat or at least 2% Greek yogurt for the best texture and flavor. Low-fat options may result in a watery consistency that doesn’t whip well. Another mistake is over-whipping. While you want a fluffy texture, whipping too long can lead to separation, turning your creamy mixture into a grainy mess. Lastly, avoid skipping the chilling step. Starting with cold yogurt helps achieve a better whipped consistency.
Tips and tricks
To create perfect whipped Greek yogurt, start with chilled ingredients. Refrigerate your bowl and whisk beforehand to enhance the whipping process. This will help the yogurt maintain its structure and prevent it from breaking down. Use a hand mixer or stand mixer; these tools provide consistent results compared to manual whisking. Gradually increase speed to get air into the mix without splattering. For added flavor, consider incorporating sweeteners like honey or maple syrup as you whip, rather than after. This ensures even distribution throughout your whipped Greek yogurt.
Another effective tip is to add a pinch of salt during the whipping process. Salt enhances flavors without making the yogurt taste salty, balancing sweetness and providing depth. If you enjoy a flavored version, fold in pureed fruits or extracts gently after achieving the desired fluffiness; this maintains texture while infusing delicious flavors. Finally, store leftovers in an airtight container in the fridge and consume within three days for optimal freshness.
Suggestions for Whipped Greek Yogurt
Whipped Greek yogurt serves as a versatile base for various dishes. For breakfast, layer it with granola and fresh berries to create a nutritious parfait that’s visually appealing and satisfying. Alternatively, use it as a dip for fruits or vegetables; it pairs perfectly with crunchy snacks like apple slices or carrot sticks, adding protein and creaminess to your snack time.
You can also spread whipped Greek yogurt on toast instead of cream cheese for a healthier option topped with avocado or smoked salmon. For dessert lovers, consider mixing cocoa powder into your whipped yogurt for a chocolate treat without the guilt. Whatever way you choose to enjoy it, this creamy delight can easily fit into many meals.

FAQs
What is Whipped Greek Yogurt?
Whipped Greek yogurt is simply Greek yogurt that has been aerated until light and fluffy. This process creates an airy texture that enhances its mouthfeel while maintaining its nutritional benefits. You can whip it by hand with a whisk or use an electric mixer for quicker results.
How can I make my Whipped Greek Yogurt sweeter?
To sweeten your whipped Greek yogurt, add honey or maple syrup gradually while whipping it. Start with small amounts and taste as you go until you reach your desired sweetness level. This method ensures even flavor distribution without compromising texture.
Can I use non-Greek yogurt for this recipe?
While you can technically use non-Greek yogurt to create a whipped product, expect different results regarding texture and flavor intensity. Regular yogurt has more water content than Greek varieties, resulting in less fluffiness when whipped.
How long does homemade Whipped Greek Yogurt last?
Homemade whipped Greek yogurt typically lasts about three days when stored in an airtight container in the refrigerator. Ensure it’s well-sealed to prevent air exposure which could affect its consistency and flavor over time.
What are some toppings for Whipped Greek Yogurt?
Toppings like fresh fruits such as berries or banana slices work beautifully on whipped Greek yogurt. Nuts like almonds or walnuts add crunch, while granola offers both texture and sweetness—creating delightful combinations based on personal preference.
Is Whipped Greek Yogurt healthy?
Yes! Whipped Greek yogurt retains many health benefits of regular Greek yogurt, including high protein content and probiotics that promote gut health. It makes an excellent choice for nutritious snacks or meals when paired thoughtfully with other ingredients.
Summary
In summary, creating irresistible whipped Greek yogurt requires avoiding common mistakes such as using low-fat options or over-whipping the mixture. Implementing tips like chilling ingredients beforehand can enhance your results significantly. Furthermore, consider versatile suggestions like adding fruit flavors or pairing it with granola for breakfast delights. Lastly, remember that storing your concoction properly ensures freshness while enjoying its health benefits makes it an excellent addition to any diet plan.