

Quick Overview
If you’re looking for a delicious snack that you can whip up in no time, look no further than this easy 10-minute homemade hummus. This creamy and flavorful dip is perfect for parties, game days, or just a quick snack at home. Made with simple ingredients that blend together seamlessly, you’ll have a fresh batch of hummus ready to enjoy in under ten minutes. Not only is it easy to make, but it’s also a healthier alternative to many store-bought options. Packed with protein and fiber from chickpeas, this dish is both satisfying and nutritious.
You can customize your hummus by adding various flavors such as roasted red pepper or spices like cumin. This recipe provides the perfect base that you can adapt according to your taste preferences. Serve it with fresh vegetables or pita bread for an enjoyable appetizer or snack. By making your own hummus at home, you’ll save money while also knowing exactly what goes into your food. So grab your blender or food processor and get ready to impress your friends and family with this quick and easy recipe!
Ingredient Breakdown
1. **Chickpeas** – 1 can (15 oz)
Chickpeas are the star ingredient in hummus. They provide the creamy texture and rich flavor that makes hummus so enjoyable.
2. **Tahini** – ¼ cup
Tahini is a paste made from ground sesame seeds. It adds a nutty flavor and creaminess to the hummus.
3. **Garlic** – 1-2 cloves
Fresh garlic lends a bold flavor to the hummus. Depending on your taste preference, adjust the amount for more or less intensity.
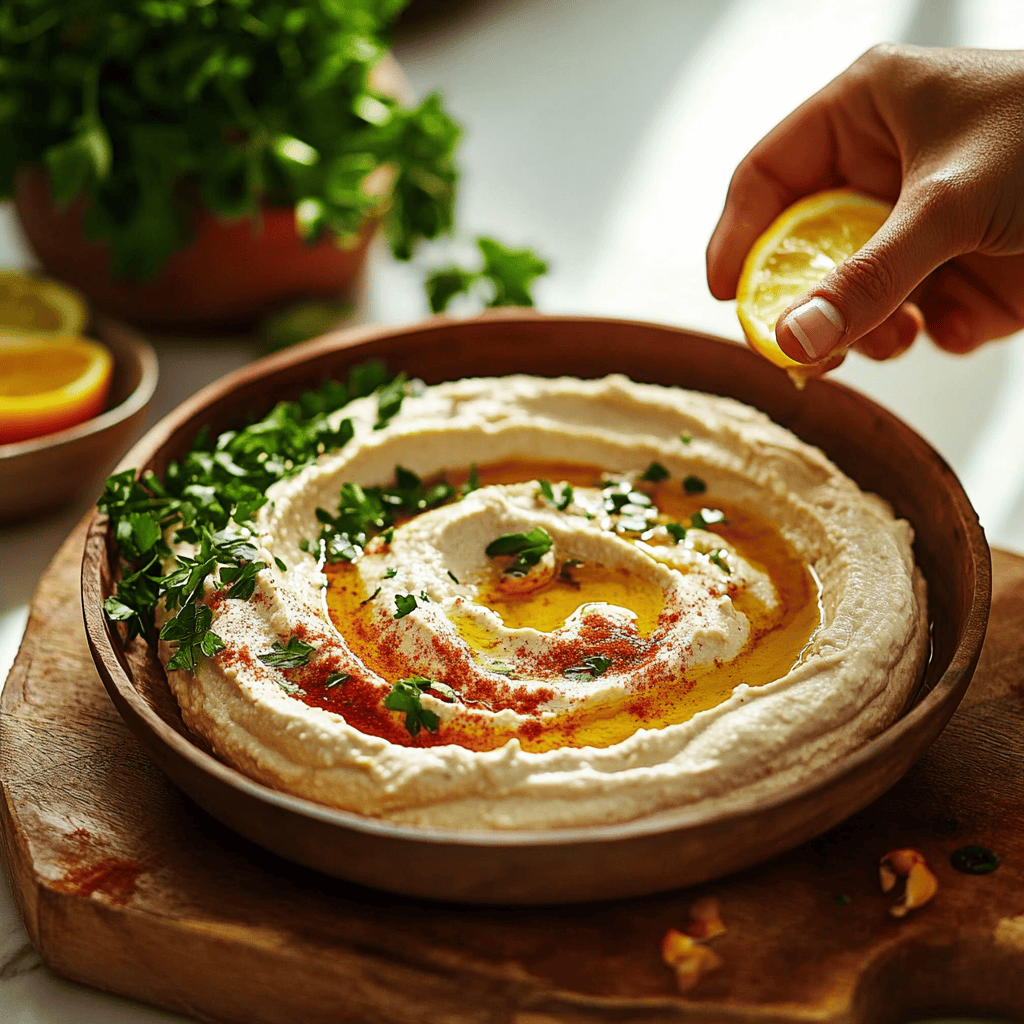
4. **Lemon Juice** – 2 tablespoons
Freshly squeezed lemon juice brightens up the flavor of the hummus and adds acidity that balances well with the other ingredients.
5. **Olive Oil** – 2 tablespoons
Extra virgin olive oil adds richness and smoothness while also providing healthy fats.
6. **Salt** – ½ teaspoon
Salt enhances all the flavors in the dish. Adjust according to personal taste.
7. **Water** – 2-4 tablespoons
Water helps achieve the desired consistency of the hummus; add it gradually until you reach your preferred texture.
Step By Step Recipe: Easy 10-Minute Homemade Hummus
1. **Gather Ingredients**
Start by gathering all your ingredients on a clean countertop or table. Ensure you have canned chickpeas, tahini, garlic cloves, lemon juice, olive oil, salt, and water ready for blending.
2. **Rinse Chickpeas**
Open the can of chickpeas and pour them into a colander. Rinse thoroughly under cold running water to remove excess sodium from the canning process which helps improve flavor.
3. **Combine Ingredients**
In a food processor or blender, add the rinsed chickpeas along with tahini, garlic cloves (peeled), lemon juice, olive oil, and salt.
4. **Blend Until Smooth**
Secure the lid on your processor or blender and blend on high speed until all ingredients are fully combined into a smooth mixture without any lumps.
5. **Adjust Consistency**
If the mixture appears too thick for your liking, gradually add water while blending until you achieve your desired creamy consistency.
6. **Taste Test***
Stop blending to taste your homemade hummus! Adjust flavors by adding more salt or lemon juice as needed until satisfied with taste.
7. **Serve Immediately or Store***
Once finished blending and tasting adjustments are complete, transfer the hummus into a serving bowl if serving immediately or store it properly for later use.
Serving and Storing Tips
Serving Suggestions
Hummus is incredibly versatile when it comes to serving options! Enjoy it as a dip alongside fresh veggies like carrots, cucumbers, bell peppers, or cherry tomatoes for a healthy snack option. You can also serve it with warm pita bread or chips for added crunch! For an elegant touch when hosting gatherings, consider drizzling extra virgin olive oil on top of your dip before garnishing with paprika or chopped parsley.
Storage Instructions
To keep leftover homemade hummus fresh longer after preparing it at home is essential! Store any remaining hummus in an airtight container in the refrigerator for up to one week. Make sure to cover its surface with plastic wrap before sealing to prevent oxidation which may alter its color over time! If you’d like to freeze portions of leftovers for future use simply place portions into freezer-safe containers ensuring they’re tightly sealed—frozen homemade hummus typically lasts about three months without losing quality!
Mistakes to avoid
One common mistake when making Easy 10-Minute Homemade Hummus is not using fresh ingredients. Fresh garlic, lemon juice, and high-quality tahini significantly enhance the flavor of your hummus. If you use stale or low-quality ingredients, you may end up with a bland result. Always check the freshness of your components before starting.
Another mistake is over-processing the chickpeas. While it’s tempting to create a super-smooth texture, over-blending can lead to a gummy consistency. Blend just enough to achieve your desired creaminess without losing texture. A bit of chunkiness can add character, so don’t be afraid to stop blending sooner than you think.
Not adjusting for salt is another common error. Different brands of chickpeas and tahini can vary in salt content. Always taste your hummus before serving and add salt gradually to reach the perfect balance. This ensures that your Easy 10-Minute Homemade Hummus has the right flavor profile.
Using too little liquid can also ruin your hummus. If the mixture seems too thick, gradually add water or olive oil while blending until it reaches a smooth consistency. Remember, achieving the right texture is key to making delicious hummus that everyone will enjoy.
Lastly, neglecting to chill your hummus before serving can detract from its flavors. Allowing it to rest in the refrigerator for at least an hour allows all those wonderful tastes to meld together better. Serve it chilled alongside fresh veggies or pita for a delightful appetizer.
Tips and tricks
To make the best Easy 10-Minute Homemade Hummus, start with canned chickpeas for convenience but consider removing their skins for an ultra-smooth result. While it takes a little extra time, it really makes a difference in texture and creaminess. Simply pinch each chickpea between your fingers or use a soft cloth to rub off the skins before blending.
Experimenting with flavors can elevate your hummus game! Consider adding roasted red peppers, sun-dried tomatoes, or even spices like cumin and smoked paprika for extra depth. These additions will not only enhance flavor but also provide visual appeal.
For an extra creamy finish, incorporate a tablespoon of Greek yogurt into your mixture before blending. This simple addition adds richness and enhances the overall taste without overpowering the classic hummus flavor.
Don’t forget about garnishing! Drizzle some high-quality olive oil on top before serving and sprinkle sesame seeds or fresh herbs like parsley for added color and flair. A beautiful presentation makes any dish more appetizing.
Lastly, consider serving your Easy 10-Minute Homemade Hummus with various dippers such as fresh vegetables, pita chips, or crackers. This not only enhances the eating experience but also makes it versatile for different occasions—perfect for parties or casual snacking!
Suggestions for Easy 10-Minute Homemade Hummus
When preparing your Easy 10-Minute Homemade Hummus, consider using lemon zest along with lemon juice to amplify citrus notes in flavor without increasing acidity levels too much. The zest provides aromatic oils that truly brighten up your dip and take it to another level.
For additional protein and nutrition, blend in some cooked quinoa or lentils into your hummus mixture. These ingredients offer added health benefits while remaining subtle enough not to distract from the traditional flavors of hummus.
If you’re looking for a spicy kick, add jalapeños or red pepper flakes during blending to create a zesty version of this classic recipe. Adjust according to personal spice tolerance; remember that you can always increase heat but cannot easily reduce it once blended in!
Using flavored olive oils—like garlic-infused or chili-infused—can elevate your homemade hummus without requiring extra work. Just substitute these specialty oils instead of regular olive oil when blending for a burst of flavor throughout.
Finally, serve your Easy 10-Minute Homemade Hummus with themed gatherings! For instance, if hosting Mediterranean night, pair it with olives, feta cheese bites, and grape leaves for an authentic experience that guests will rave about long after they leave!

FAQs
What are the main ingredients in Easy 10-Minute Homemade Hummus?
The primary ingredients include canned chickpeas (or cooked dried ones), tahini paste made from ground sesame seeds, fresh lemon juice, garlic cloves, olive oil, salt, and water for desired consistency. Some recipes may also include spices like cumin or additional flavorings such as roasted peppers.
Can I make Easy 10-Minute Homemade Hummus ahead of time?
Yes! You can prepare this delicious dip ahead of time by storing it in an airtight container in the refrigerator for up to one week. This allows flavors to meld together beautifully and saves time on busy days when you need quick snacks ready at hand!
How do I adjust my Easy 10-Minute Homemade Hummus if it’s too thick?
If you find that your hummus is too thick after blending, simply add small amounts of water or additional olive oil gradually until reaching desired consistency while continuing to blend until smooth again—this method prevents making it overly runny at once!
Is homemade hummus healthier than store-bought versions?
Homemade versions usually contain fewer preservatives than store-bought options since they utilize fresh ingredients without additives often found in packaged varieties which contribute unnecessary calories—plus you have control over ingredient quality ensuring healthier choices tailored specifically according personal dietary needs/preferences!
Can I freeze my Easy 10-Minute Homemade Hummus?
Yes! Freezing is an excellent option if you’d like longer storage times; however keep in mind texture might change slightly upon thawing due moisture loss during freezing process—best practice would be allowing time overnight inside fridge before consuming post-thawing so flavors settle back nicely together again!
What should I serve with my Easy 10-Minute Homemade Hummus?
You can serve your homemade hummus alongside fresh vegetables like carrot sticks and cucumber slices; pita chips make great accompaniments too! For added flair consider pairing them with whole grain crackers or even spreading onto sandwiches/wraps as nutritious spreads enhancing overall taste profile!
Summary
In summary, crafting Easy 10-Minute Homemade Hummus requires attention to detail regarding ingredients and preparation methods while avoiding common mistakes ensures optimal results every time! By applying helpful tips such as experimenting with flavors and garnishing creatively alongside proper serving suggestions enhances overall enjoyment factor immensely making this dip perfect choice both casual snacking occasions & formal gatherings alike!