
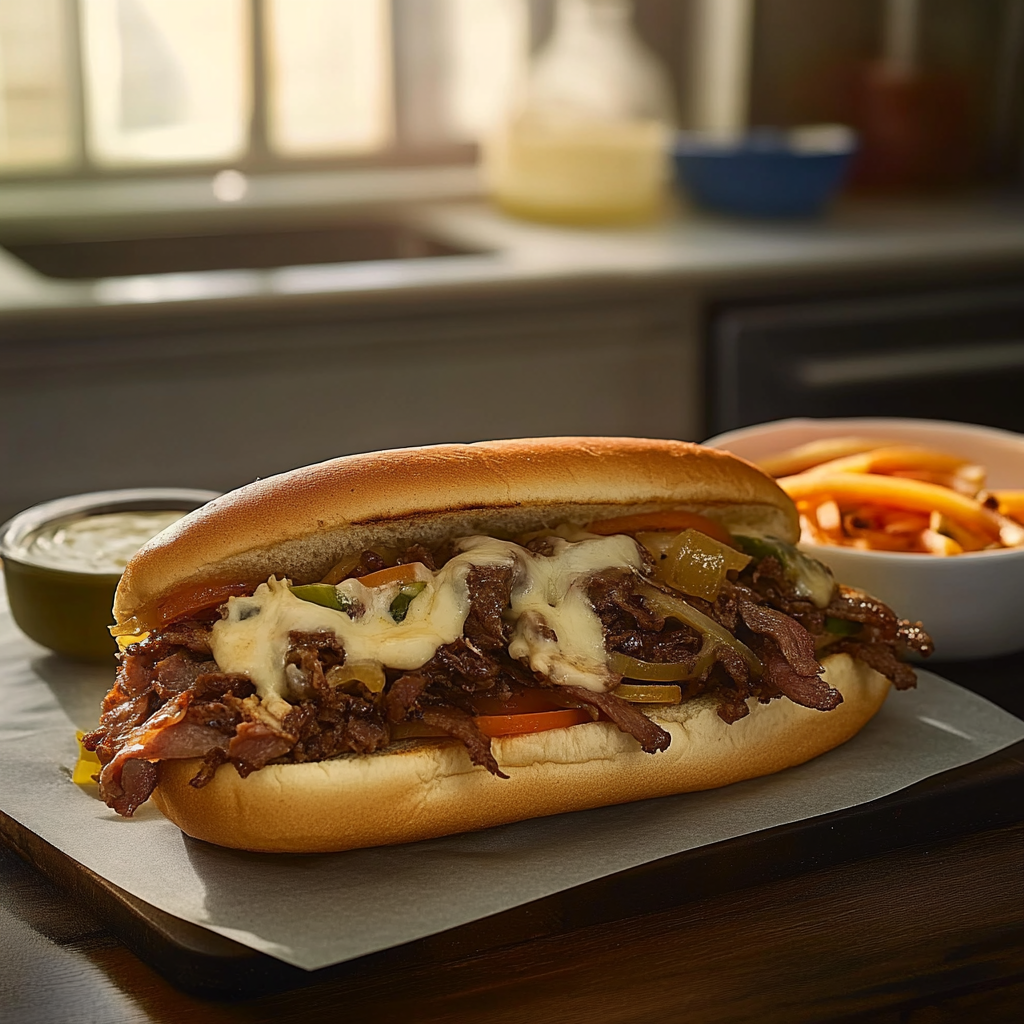
Are you ready to savor the rich flavors of a true American classic? The Philly cheesesteak is more than just a sandwich; it’s a culinary experience that brings together juicy steak, melty cheese, and fresh toppings. This iconic dish hails from Philadelphia and has won hearts worldwide. In this article, we will guide you through the process of creating your very own Philly cheesesteak at home. With simple ingredients and straightforward instructions, you can bring the taste of Pennsylvania right into your kitchen.
Ingredients for a Perfect Philly Cheesesteak
To craft an authentic Philly cheesesteak, you’ll need some key ingredients. Here’s what you will require:
Thinly sliced ribeye steak: 1 pound – Ribeye is preferred for its tenderness and flavor.
Hoagie rolls: 4 – Opt for fresh rolls that are slightly crusty on the outside yet soft on the inside.
Provolone cheese: 8 ounces – Provolone melts beautifully and complements the steak perfectly.
Onions: 1 large, thinly sliced – Sweet onions add flavor and sweetness to your cheesesteak.
Green bell peppers: 1 medium, thinly sliced – These add crunch and brightness to the dish.
Olive oil: 2 tablespoons – Use this for sautéing the vegetables and searing the meat.
Salt and pepper: To taste – Seasoning enhances all flavors in your cheesesteak.

Instructions for Making a Philly Cheesesteak
Step 1: Prepare Your Ingredients
Start by gathering all your ingredients. Make sure your ribeye steak is thinly sliced. If you buy it in larger pieces, ask your butcher to slice it or place it in the freezer for about 30 minutes before slicing yourself. Thin slices cook better and absorb flavors well.
Step 2: Sauté the Vegetables
In a large skillet, heat olive oil over medium heat. Add the sliced onions and bell peppers to the skillet. Cook these vegetables for about 5-7 minutes until they become tender and slightly caramelized. Stir occasionally to ensure even cooking.
Step 3: Add the Steak
Once your vegetables are ready, push them to one side of the skillet. Add the thinly sliced ribeye steak to the other side of the skillet. Season with salt and pepper to taste. Cook for about 3-5 minutes, stirring occasionally until the steak is browned but still juicy.
Step 4: Combine Steak and Vegetables
Mix together the cooked onions, bell peppers, and steak in the skillet. Ensure everything is evenly distributed so each bite has a mix of meat and veggies.
Step 5: Melt the Cheese
Now that everything is combined, lay slices of provolone cheese over the mixture in the skillet. Cover with a lid for about 2-3 minutes or until the cheese melts beautifully over the steak and vegetables.
Step 6: Prepare Your Rolls
While your cheese is melting, slice your hoagie rolls lengthwise but not all the way through. You want to create an opening where you can stuff in your delicious filling.
Step 7: Assemble Your Sandwiches
Once the cheese has melted perfectly over your Philly cheesesteak mixture, remove it from heat. Using a spatula, scoop generous portions into each hoagie roll.
Step 8: Serve Hot
Serve your homemade Philly cheesesteaks hot with optional sides like chips or fries. Enjoy every delicious bite!
Tips for an Authentic Experience
For those looking to replicate an authentic experience, consider using Cheez Whiz instead of provolone for an extra creamy texture that many swear by in classic cheesesteaks. Additionally, feel free to customize your toppings with jalapeños or mushrooms based on personal preference.
Tips and tricks
When making a Philly Cheesesteak, a few tips can help you achieve the best results. First, choose the right cut of beef. Ribeye is the preferred choice due to its tenderness and flavor. Slice it thinly against the grain for easy chewing. Next, use a high-quality cheese. Provolone or Cheez Whiz offers that authentic taste many love.
Don’t forget about the bread. A fresh hoagie roll is essential; it should be soft yet sturdy enough to hold all those delicious fillings without falling apart. For added flavor, sauté bell peppers and onions alongside the meat for a classic touch. Keep the heat high while cooking to get a nice sear on the beef, which adds depth to your sandwich.
Lastly, assemble your Philly Cheesesteak right after cooking to keep everything warm and melty. Serve immediately with your favorite sides like fries or chips for a complete meal experience.

FAQs
What type of meat is best for Philly Cheesesteak?
For an authentic Philly Cheesesteak, ribeye steak is highly recommended. This cut has the right balance of fat and tenderness, which enhances the sandwich’s overall flavor and texture. When preparing the meat, slice it thinly against the grain. This technique ensures that each bite remains tender and easy to chew. Some people may opt for sirloin as an alternative, but ribeye generally provides that classic cheesesteak experience everyone craves.
Can I make a vegetarian version of a Philly Cheesesteak?
Absolutely! A vegetarian Philly Cheesesteak can be just as delicious as its meaty counterpart. Use mushrooms as a base for the filling since they offer a rich umami flavor and meaty texture when cooked. Sauté bell peppers and onions along with mushrooms to create that savory blend typical of traditional cheesesteaks. Top it off with provolone or any cheese of your choice for that creamy finish, ensuring you still enjoy the essence of this iconic dish.
What sauces pair well with a Philly Cheesesteak?
A variety of sauces can complement a Philly Cheesesteak beautifully. Many people enjoy using hot sauce or ketchup for added zest. Others prefer mayonnaise or garlic aioli for creaminess that balances out the flavors nicely. If you’re feeling adventurous, try adding barbecue sauce or even ranch dressing for a unique twist on this classic sandwich. The key is to choose sauces that enhance rather than overpower the taste of your perfectly cooked ingredients.
This recipe for Philly Cheesesteak offers an incredible way to satisfy your cravings while enjoying a classic dish at home. With simple ingredients and straightforward methods, you can create this beloved sandwich easily and share it with family and friends for memorable meals together. Enjoy every bite!